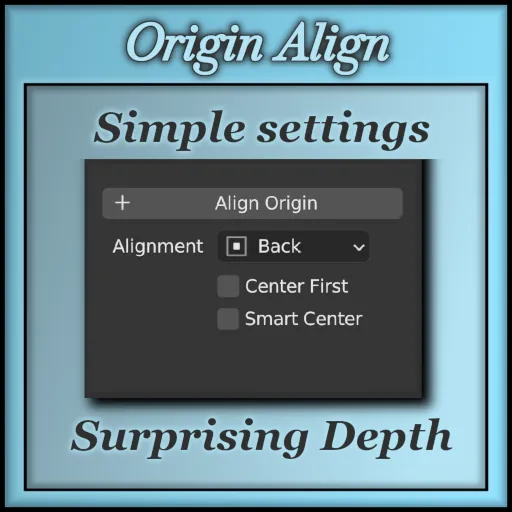
Have you ever faced the frustrating challenge of dealing with assets whose origins are all in the wrong spots? Have you found yourself manually tinkering with snapping and alignments for each one? Well, it’s time to put an end to that ordeal and consider Origin Aligner.
Origin Aligner allows you to effortlessly adjust the origin point of your mesh, placing it at the bottom, top, or any side you desire. This flexibility enables you to precisely snap it to the floor, ceiling, or wall of another mesh. The Grid option ensures that the object’s origin snaps to the nearest grid point with utmost accuracy.

GET ADDON
Category: Origin utilities
Blender: 2.93, 3.x, 4.0, 4.2, 4.3
License: GPL
For added convenience, you can center the object’s origin before aligning it, ensuring it aligns with the middle of the base instead of just snapping to it. In Edit mode, you can even align the origin to a specific face.
Origin Align: Smart Center version considers the context of where the mesh is located on a particular side. This feature is especially handy when the base of an object doesn’t align with its center. It provides improved origin placement by analyzing the mesh’s geometry on the selected side and centering the object accordingly.
For instance, with a wall-mounted light fixture, it aligns the origin with the arm’s end, providing a more natural and precise placement, unlike the standard version that simply snaps to the center. This level of contextual precision is invaluable when working with complex or asymmetrical objects.
So, if you’re tired of dealing with misplaced origins and want to achieve accurate alignments with ease, give Origin Aligner a try. It’s your ticket out of the perplexing world of misaligned centrality.


